TL;DR
- Allows you to add additional subtrees to the main DOM.
- Gives you style encapsulation natively supported by the browser.
-
Has an imperative API (JavaScript):
- + broad browser adoption
- - doesn't support server-side rendering
-
Has a declarative API (HTML) as well:
- + supports server-side rendering
- + more concise than the imperative API
- + only ~90% browser adoption (but a polyfill exists)
Missing style encapsulation
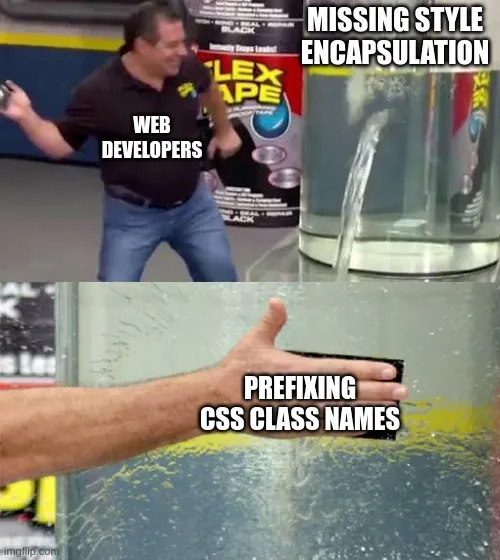
As a web developer, you’ve probably dealt with the headaches of missing style encapsulation. A single broad CSS selector can unexpectedly mess up the UI somewhere else on your site.
Adding third-party UI libraries only complicates things. Do their CSS class names clash with yours? Will their buttons break yours? Maybe.
The partial solution
Frameworks like Angular or Vue.js offer some form of component-based style encapsulation. Others, like React, let you choose from various style encapsulation libraries, such as styled-components.[1]
However, their solutions typically offer only pseudo style encapsulation. Instead of fully isolating styles, they often just add prefixes or suffixes to CSS class names following some patterns that hopefully prevent name clashes.
Doesn’t this feel like a workaround? It does to me.

Shadow DOM to the rescue
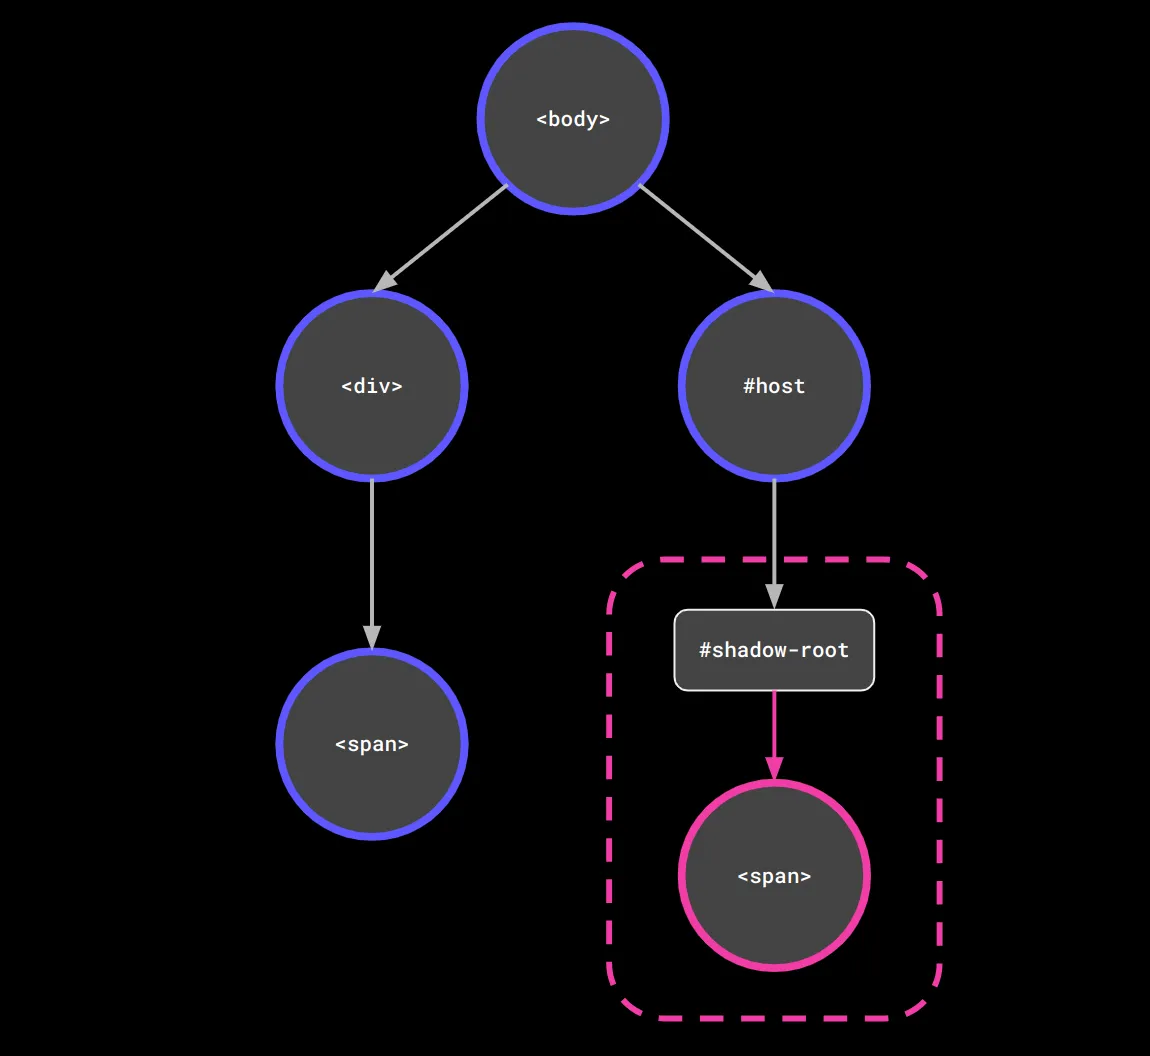
The shadow DOM attempts to fix the issue of missing encapsulation.[2] It allows you to attach additional subtrees to the main DOM. With this API, you take an HTML node from your DOM and you simply attach a new subtree to it. We call the root node of this new subtree the shadow root. The neat part: styles don’t cross this shadow root.

This means, the styles of your subtree don’t leak out into the main DOM.
Also, the styles of your main DOM don’t affect the encapsulated content of the shadow DOM.
Moreover, the same encapsulation also applies to browser events.
An onclick event originating from the shadow DOM will not bubble up to the root of the main DOM.
Instead, it will end at the shadow root.
How the shadow DOM works
There are two different ways how you can set up the shadow DOM. If you want to understand the concept better, take a look at the imperative API. Otherwise, feel free to jump ahead to the declarative API since that one is usually preferred by most developers nowadays.
Imperative API
Heads up: the imperative API does not work for server-side rendering (SSR). If you need SSR, use the declarative approach instead.
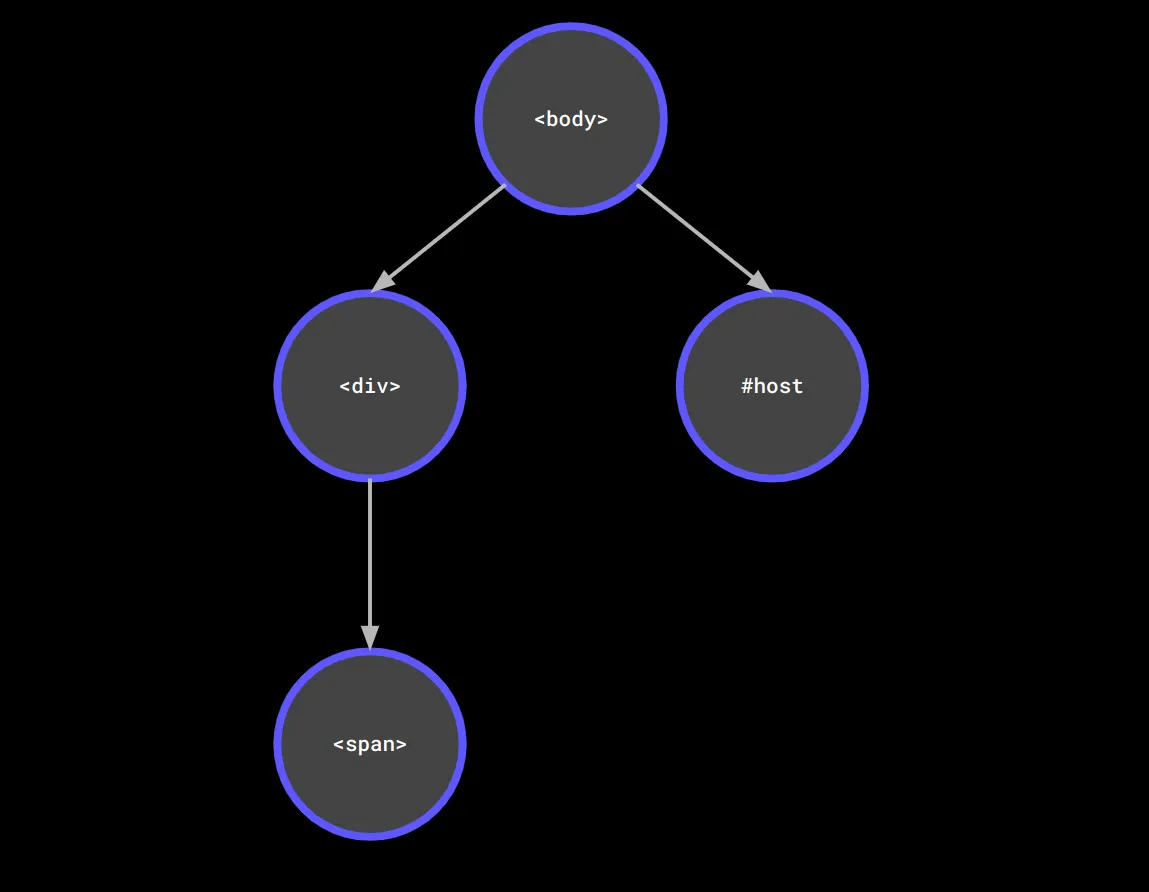
Let’s assume, we have a very basic HTML structure:
<body> <div><span>OUTSIDE the shadow DOM</span></div> <div id="host"></div></body>Let’s go over this. Our DOM has a <body> element that contains two HTML nodes:
- a
<div>containing a<span>with the textOUTSIDE the shadow DOM, - a
<div>with the IDhost. This will be our host element to which we’ll attach the shadow DOM.

Next, we get the reference to this <div> element and attach a shadow DOM to it.
Then, for the sake of demonstration, we create another <span> and append it to the shadow DOM:
// get the reference to the divconst hostElement = document.querySelector("#host");
// attach a shadow DOMconst shadowDom = hostElement.attachShadow({ mode: "open" });
// create a new HTML node (just for demonstration)const exampleElement = document.createElement("span");exampleElement.textContent = "INSIDE the shadow DOM";
// append the new HTML node to the shadow DOMshadowDom.appendChild(exampleElement);
Now, the new structure looks like this:

If you inspect how this is rendered in the browser, you will see something like this:
<body> <div><span>OUTSIDE the shadow DOM</span></div> <div id="host"> #shadow-root (open) <span>INSIDE the shadow DOM</span> </div></body>You can see all these steps together in this short animated diagram:
Declarative API
Heads up: the declarative shadow DOM has only recently been implemented in the last remaining browsers and is not fully adopted yet.[3] If you use the declarative API, add the required polyfill to your application.[4]
With the declarative shadow DOM API, you can do the same that we did in the imperative example above in plain HTML:
<body> <span>Outside the shadow DOM</span> <div id="host"> <template shadowrootmode="open"> <span>Inside the shadow DOM</span> </template> </div></body>Notice that we used the <template> element here.
The reason for this is that the <template> element has its own mechanism for rendering its content.
If you want to learn more about it, check out my template API article.